WordPress is one of the most popular blogging platform in the present world. Lot of popular and most visited websites use WordPress as their platform and this is because of some extraordinary features it provides. But there are also some features which remains unknown and are very rarely used by us. Like that today we are going to discuss about one of them. Do you know that WordPress can be installed in your windows computer? With the installation of WordPress you are going to get a wide range of testing and learning facilities. Web Developers use this process to create localhost and making ease of ther development process. So here we are going to give you a tutorial on how to Install WordPress on your Windows Computer using WAMP .
First of all you have to know about the term WAMP. It is also known as Wamp server. Actually it is an assemblage of PHP, Apache web servers and MySQL. It is used by the web developers to setup their personal local server environment and to install wordpress on their computer. So first of all you will have to learn about installing WAMP Server on your computer.
WAMP Server Installation:
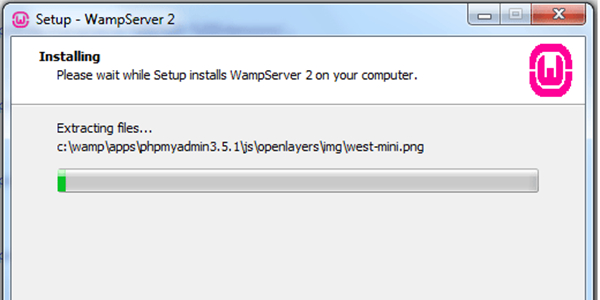
Go to the WAMP Server website and look for the option to download the latest version of the software on your PC. Now after the download process is over click on the setup file to run the installation process. Here you will asked with some options to select like 32-bit or 62-bit, default web browser it will use etc. You will select the one which is suitable for you. Now after the installation is finished, launch the WAMP Server.
Setting up Database:
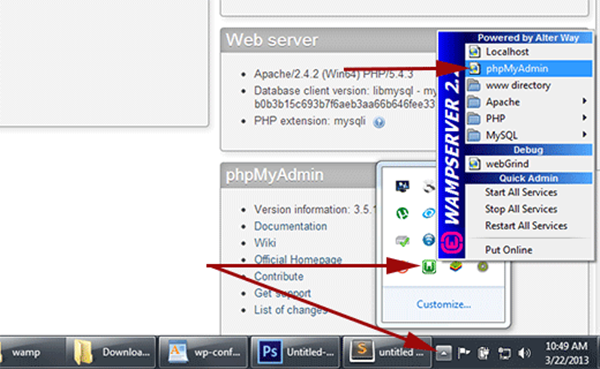
After the WAMP Server is launched, you will see that it is installed with a phpMyAdmin, a web based application to manage MySQL Databases. See on the taskbar on your computer and click on WAMP Server Icon and then click on phpMyAdmin. A new window will open and there at the top corner you will notice Database menu, click on it to create a new database. Write a new name in the box and click on create button.
Installing WordPress with WAMP:
Download a WordPress setup file from the official website of WordPress (WordPress.org). After the download process is over, extract the zip folder and from there copy the WordPress folder. Go to the wamp folder in system drive and paste the folder there. You can change the name of your WordPress folder according to your wish. Here we have changed the name into mywebsite. Open a web browser and write the address http://localhost/mysite/.
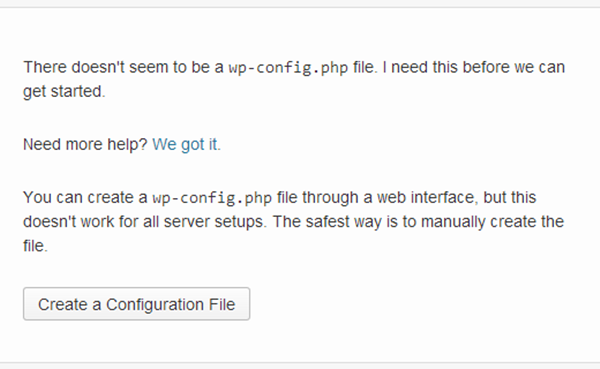
Wordpress will show you a prompt written that it can’t find the wp-config.php file. Click on Create a Configuration file button to create it.
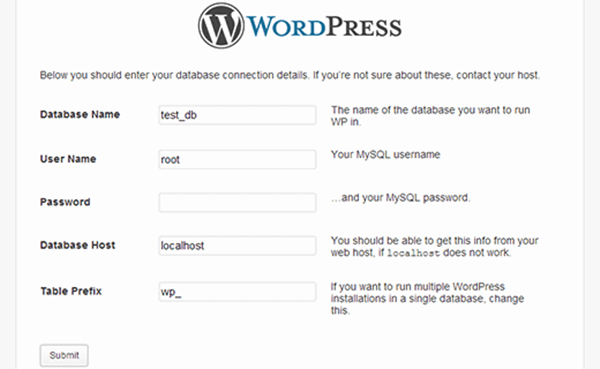
Now a new page will appear. Here you will have to provide all the database informations. You can name it as you like but here we have named as test_db. Another thing is that your default database username will be root and leave the password column blank. No when you are finshed with all these click on Submit Button and WordPress will create a configuration file for you.
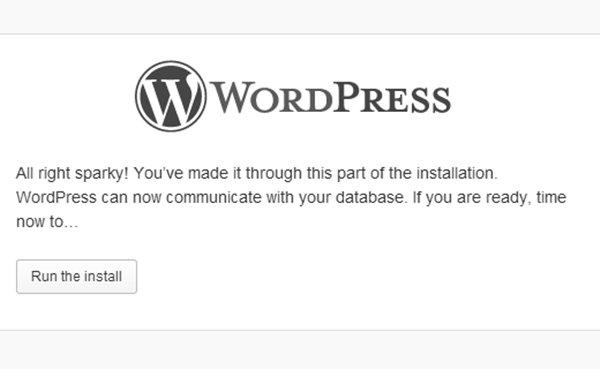
Now you will see the installation button just click on it to install wordpress.
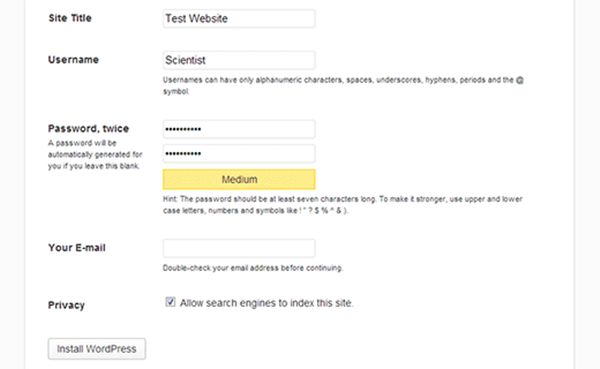
Now you will get an installation form which you will have to fill up. After filling all the boxes click on Install WordPress button. Now, you are finished with the process and wordpress will show you a success message on screen. Now log-in with your credentials.

