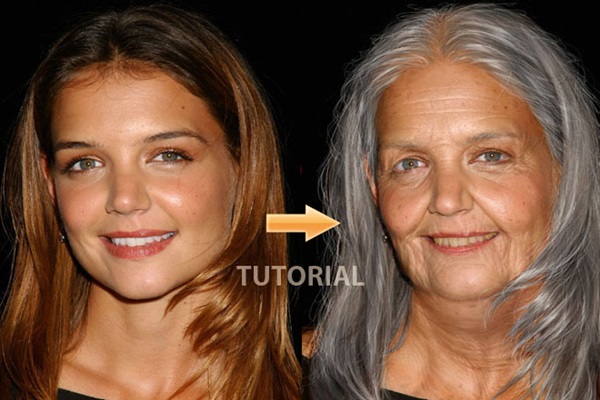
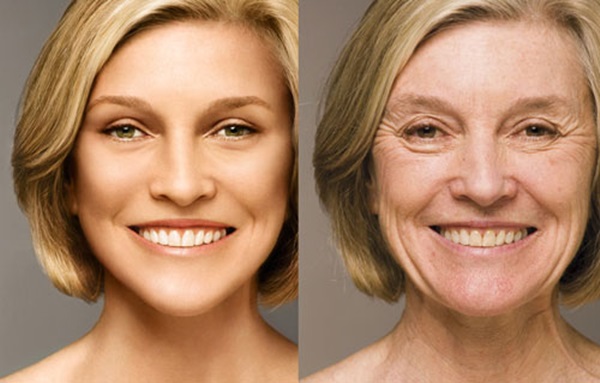
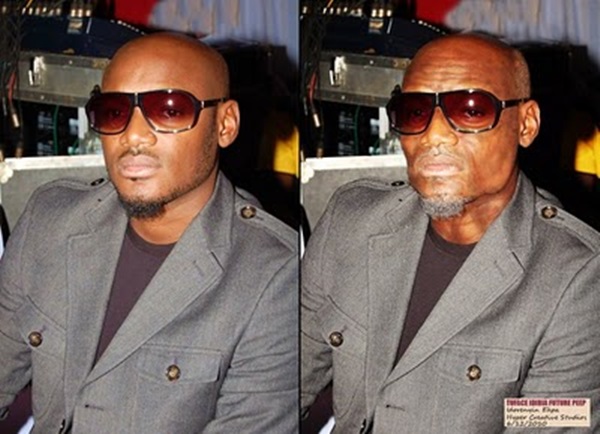
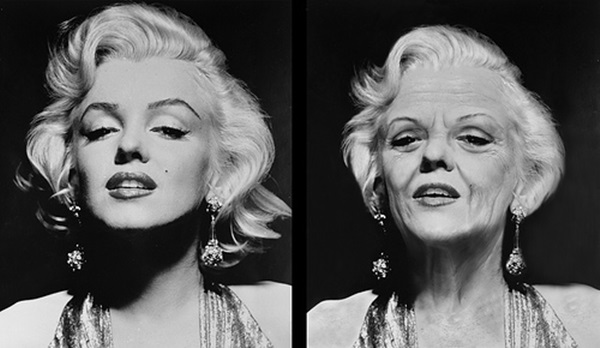
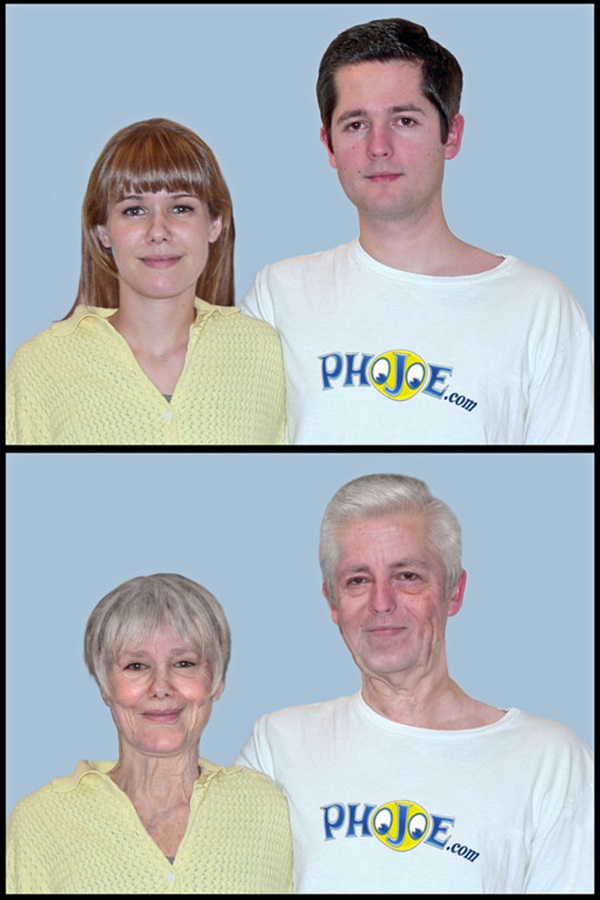
It is known to the people dealing with photography, that Photoshop has the ability to change each and everything possible with a photo. But those people, who are not very familiar with the software, should know about its miraculous abilities. Here we will be discussing the process for changing the Age Progression of a human being in a photo with the help of Photoshop. Yes, Photoshop can change an 18 years old girl to 78 years old woman in a specific photo. So we will be going through the whole process here and show you the process step by step as a tutorial. Here we will be taking a close-up photo and work on that. If you don’t want to waste much time on manual age progression in Photoshop, you may address Fixthephoto image manipulation service and get a realistically edited photo for about $25.
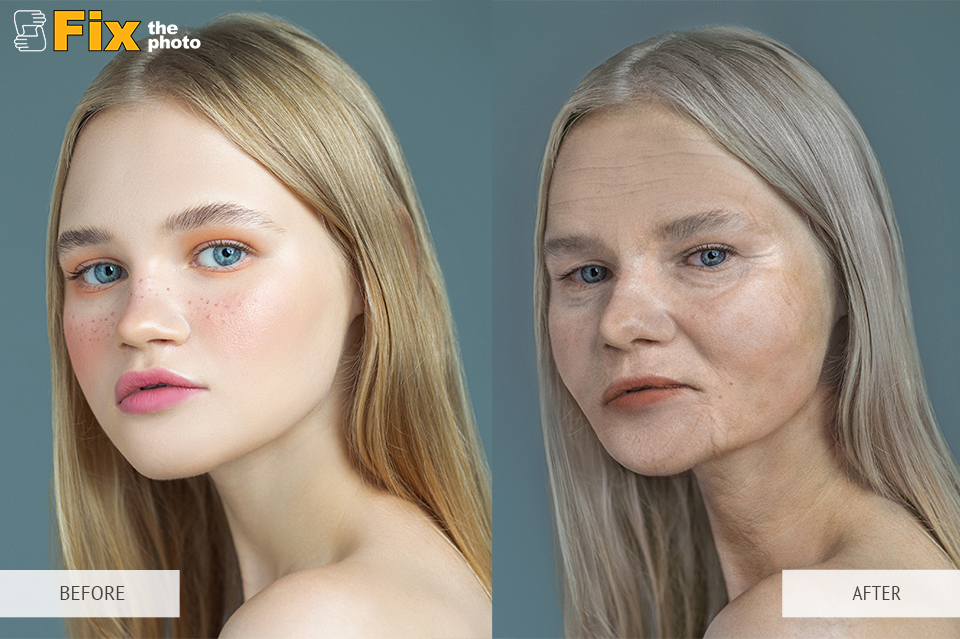
Age Progression Photoshop Tutorial:
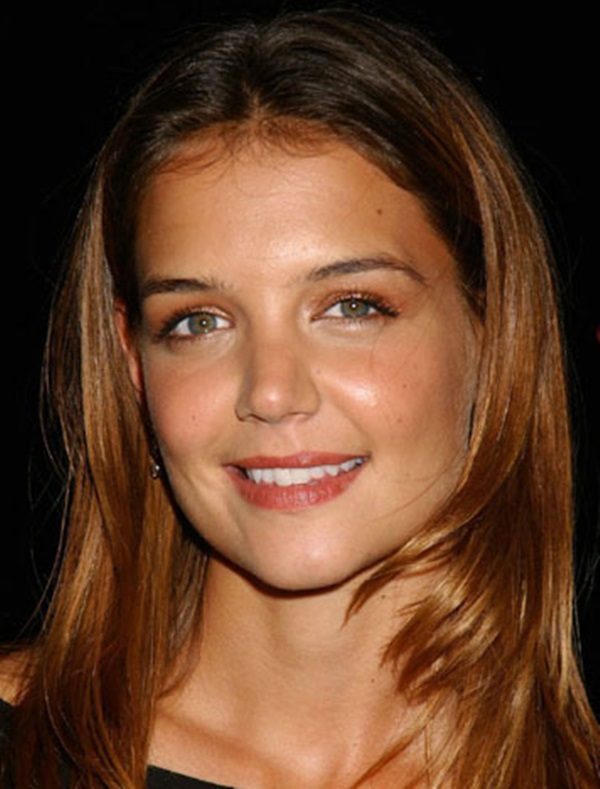
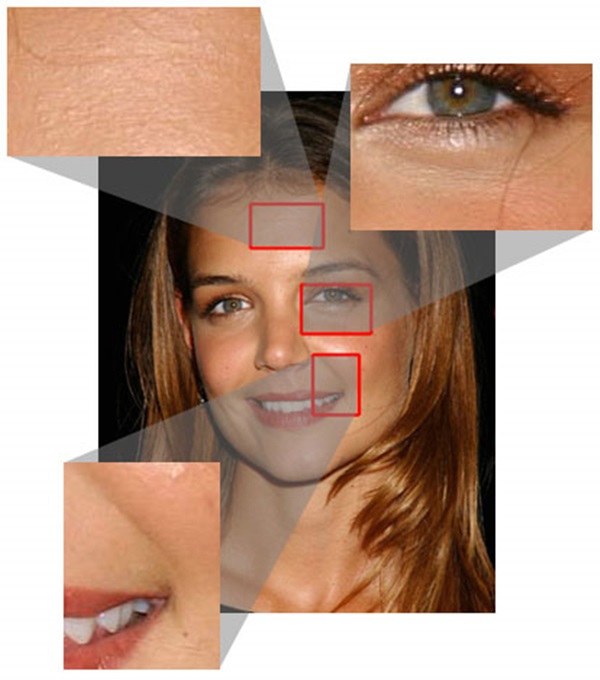
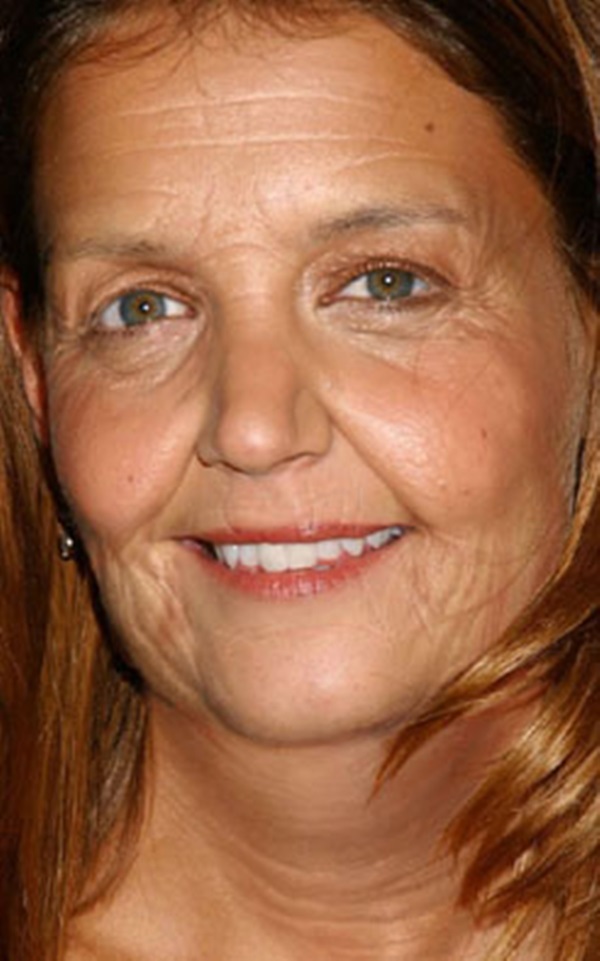
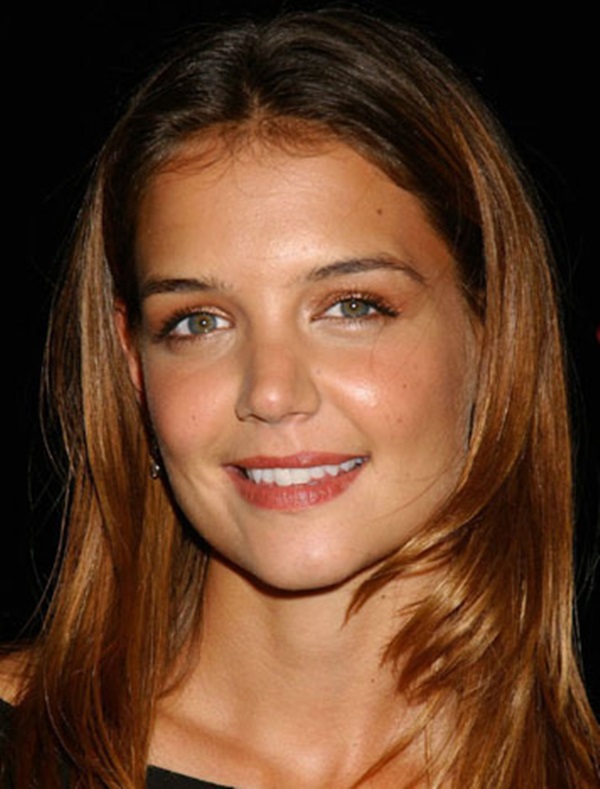
1. Choosing a Photo: When you are thinking about doing age progression in a specific photo, first of all, you have to keep in mind that the photo should be the appropriate one. Actually you have to choose a close-up photo which has very minute details in it. In fact, in the below photo you can notice the minute details of the face like horizontal lines on the face, under the eyes and near her mouth.
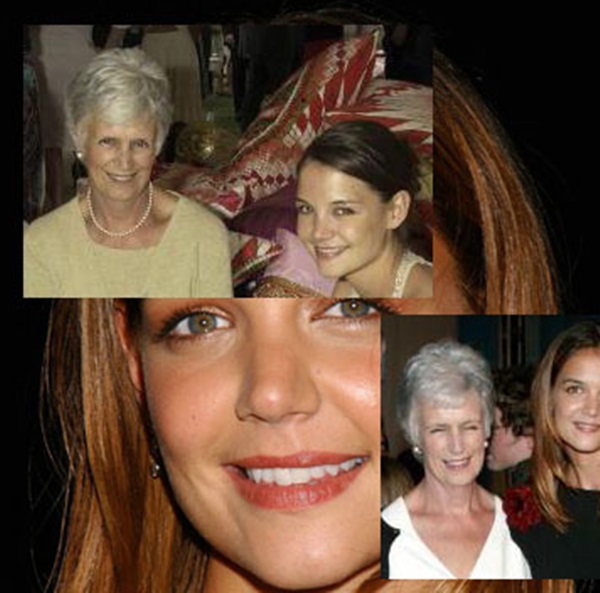
2. Collect some references: You take some help from other pictures which are of old man or women looking almost like your subject. Try to collect the picture of your subject from different angles. Take the reference photographs in Photoshop and follow the face structures while editing. Again another great reference can be the pictures of the subject’s parents. Maybe the father or mother who has a face match with your subject. But finding such pictures may be slightly tough.
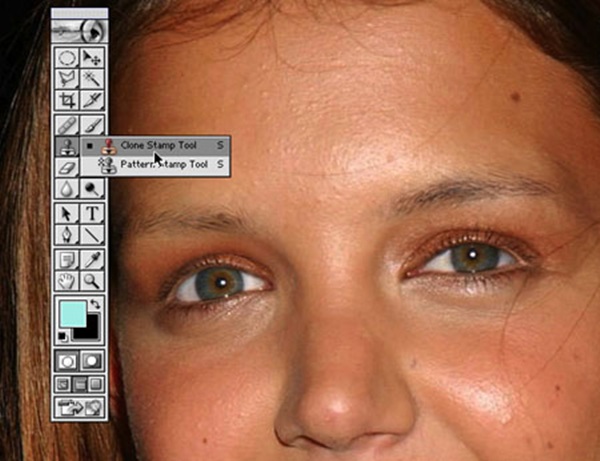
3. Thinning the Eye Brows: Now it’s time to start your editing process. At first, start thinning the eyebrows. Actually, when a human being grows old the eyebrows get thinner. Use the clone stamp tool at 100% and choose the brush size depending on the image resolution and size.
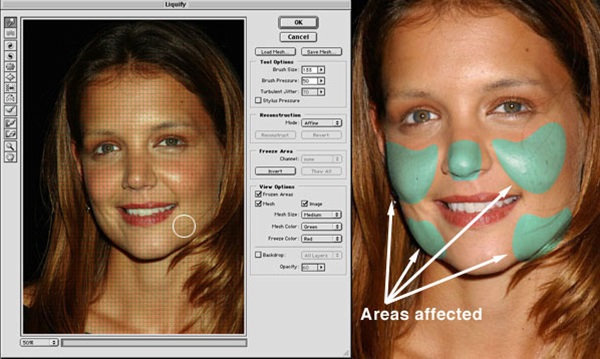
4. Molding the Face: Now you should choose the Liquify mode to create shagging effects on the skin, cheeks, and jaws. Use the push tool to do all these things. And also remember to extend the nose size slight a bit to apply an oldish effect. When human being grows old the cartilage also grows with age. Use the push tool and bloat tool to do so.
5. Create Double Chin: Creating a double chin is very necessary as with age the skins in the chin areas start extending. Use the Airbrush tool with broad strokes and at last use the fine brush tool to add some extra fine effects.
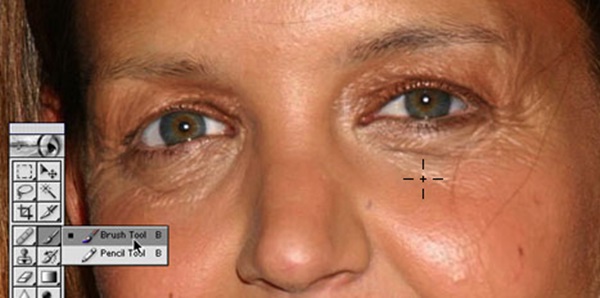
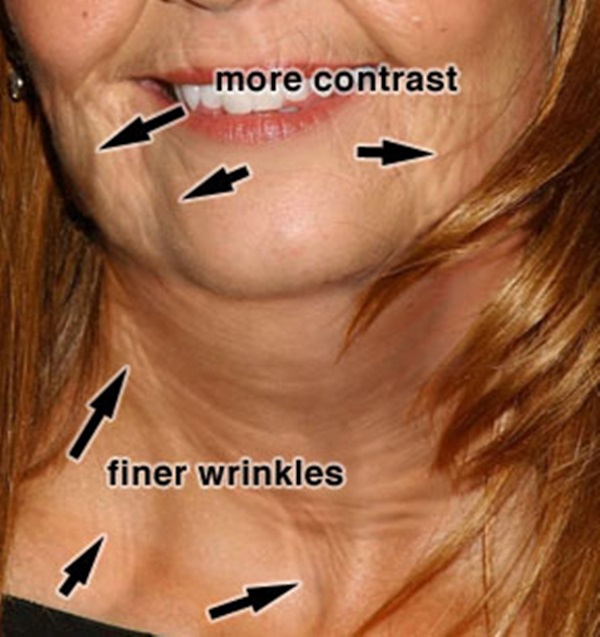
6. Wrinkle the Eyes: This is one of the toughest parts of the full editing process. If not done correctly this can destroy your full project. Use the fine lines around the eyes for enlarging it. The main purpose is that you have to imagine how the wrinkles would progress with age. You have to widen and deepen the wrinkles around the eyes slightly increasing the contrast. Once done, use the same process in the cheekbone areas and around the forehead and mouth.
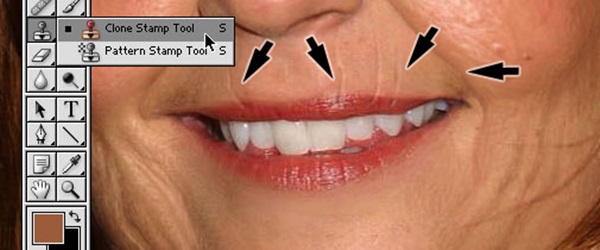
7. Reducing the Lips outline: With age, the lips outline starts decreasing in size. Use the stamp tool to sample the skin around the lips and thin them out. You can also add some vertical lines as wrinkles above the lips. But it should be used as an outline, so don’t deepen the vertical lines.
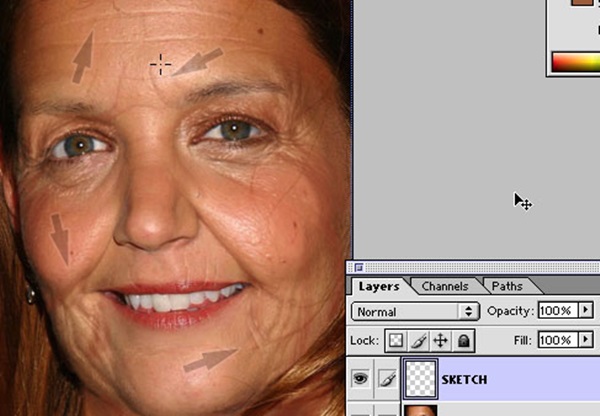
8. Plan for adding some more wrinkles: Take a separate layer, outline, and sketch with a thin brush size in the areas where no more wrinkles or lines will be added. Go on doing it still you get a better result.
9. Add Wrinkles where it is needed the most: Select the brush tool and with a lighter skin tone to add some light wrinkles all over where it is needed. You should check at last that the definition should pop out more.
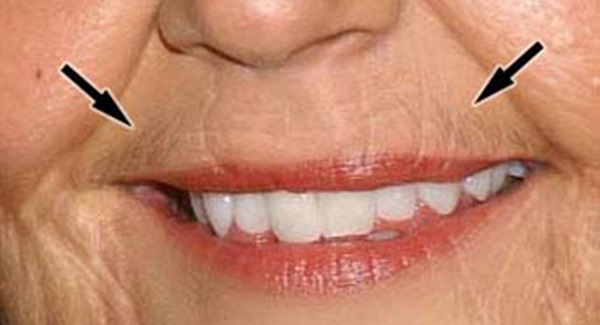
10. Add some hair above lips: You may add some light hairs above the lips with the help of brush tools and fine brush size. But remember that the hairs shouldn’t be thick in this portion as it will look like a mustache.
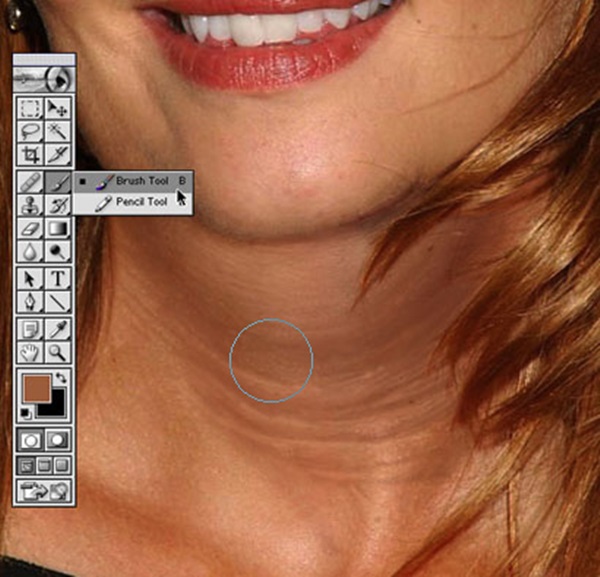
11. Refine the Neck: You should add some wrinkles and light lines on the neck to add a flavor of a 75 years old woman. Add some weight with airbrush in these areas.
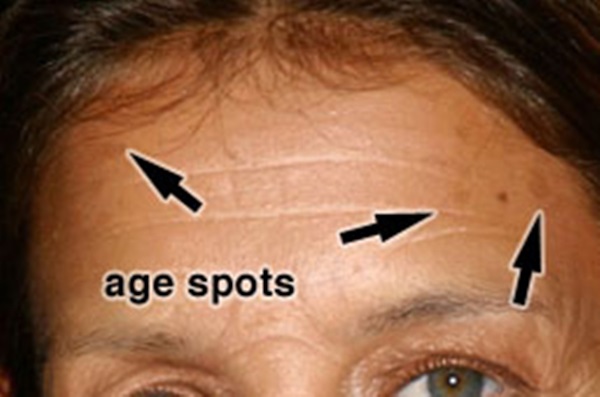
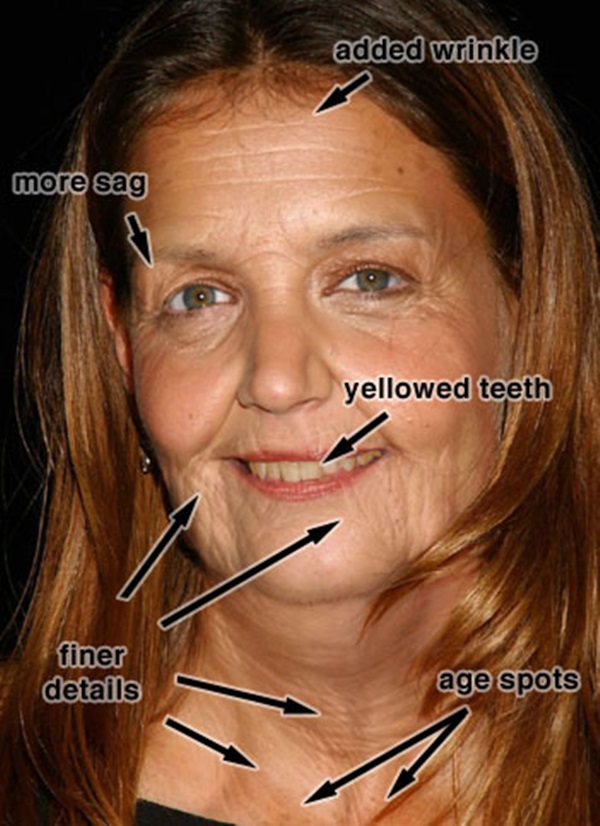
12. Work with Age spots: Age spots are very common in some women. You can add age spots by sampling a darker skin tone on her face and add it on a separate layer with 30% opacity. Try to create irregular shapes.
13. Finer Details: No when all these above processes are complete now you can start working with some finer details on the face. Look at the photo very nicely and then decide whether some areas need fine details or not. If it is needed add some wrinkles more. You can also add a yellowish flavor to the teeth if it is visible.
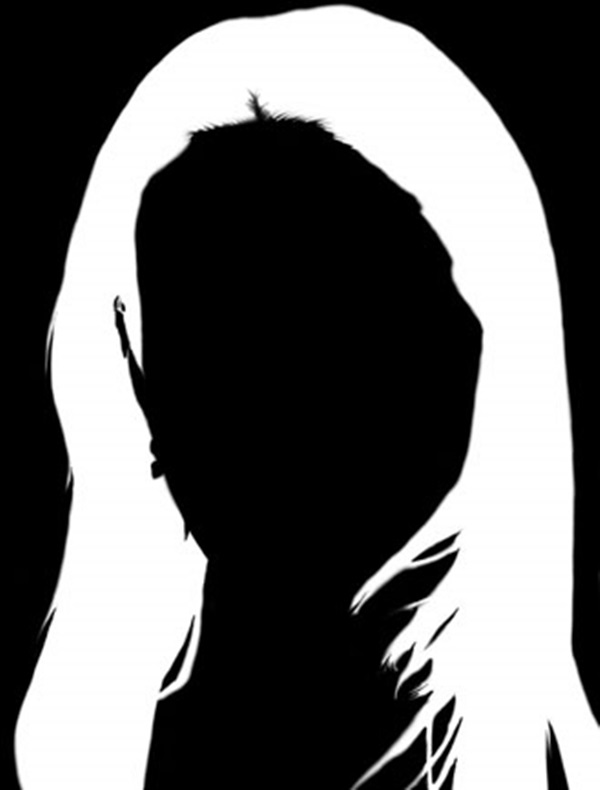
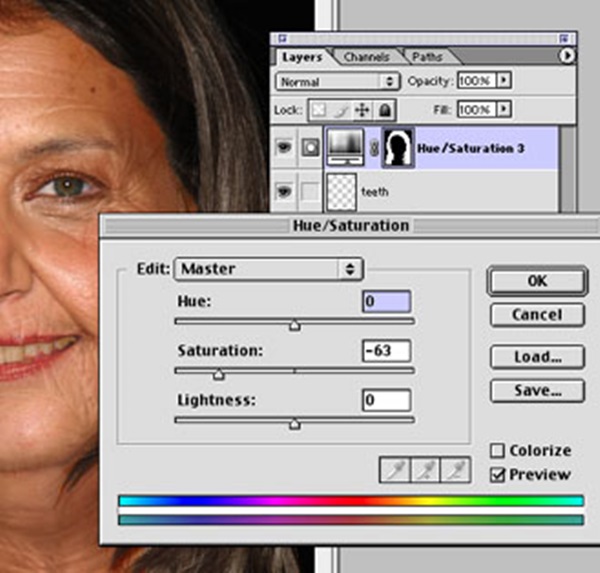
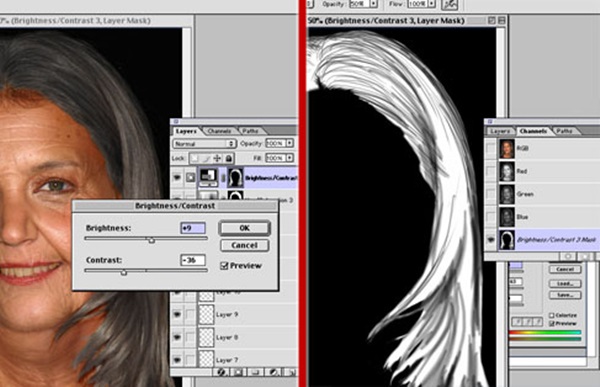
14. Color the Hair: You have to color the hair grey. Create a mask defining the area of the hair. Use a brush to do this process. Now select the mask and create a saturation adjustment layer and reduce the saturation to 63. Then create a new adjustment layer based on the same mask and adjust the brightness to +9 and contrast to -36.
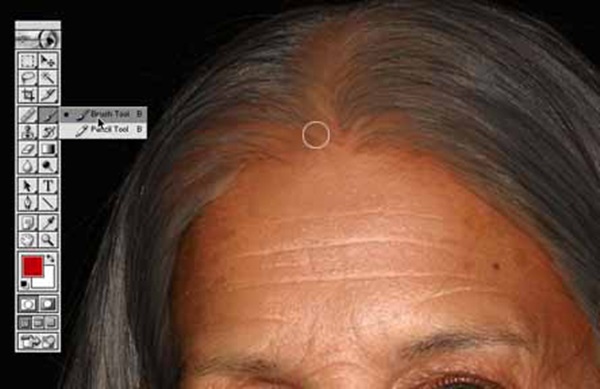
15. Hair Raising: Hair loss is very common in that age so raise the hairline and thin out the hair. Sample the hairline area and extend the original hairline.
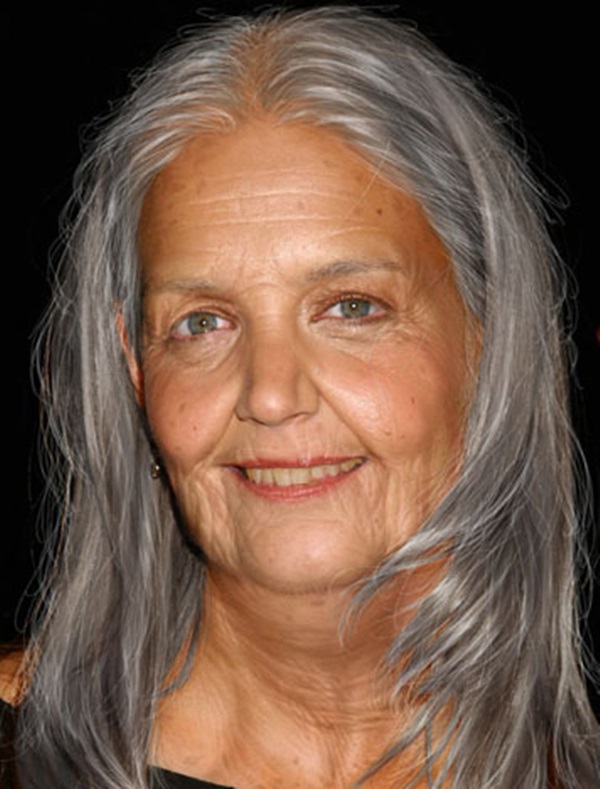
16. Finish Touches: At last see the photo carefully and add some final touches if needed all over now your photo is almost ready.
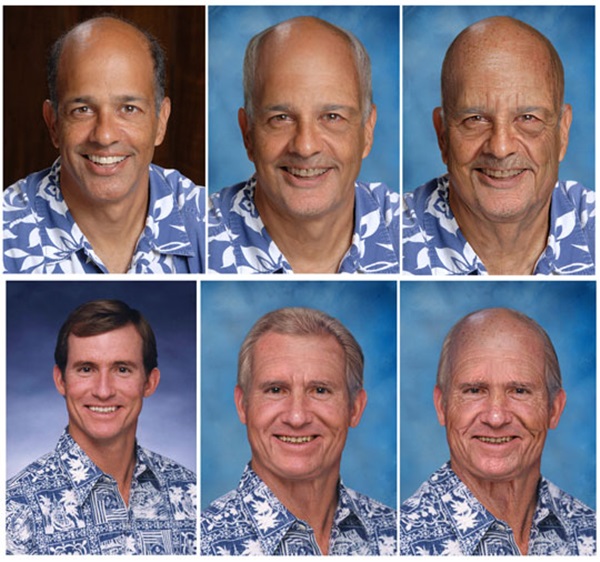
Some other photo illustrations of age progression done in Photoshop. These below photos are just given as illustrations.

