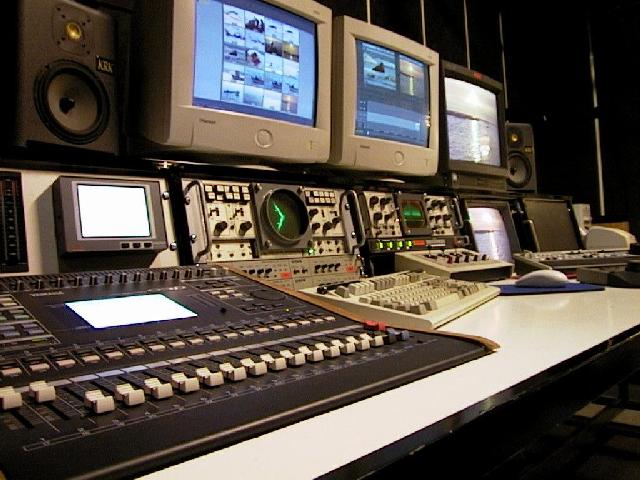
Have you ever thought about the question “how did editors edit photos in 20th century when there was no Photoshop”. Prior to Photoshop and the host of image editing apps, people did edit photos. So how did they do it? Let us find out.
How did Editors Edit Photos in 20th Century
Processing the Film Roll
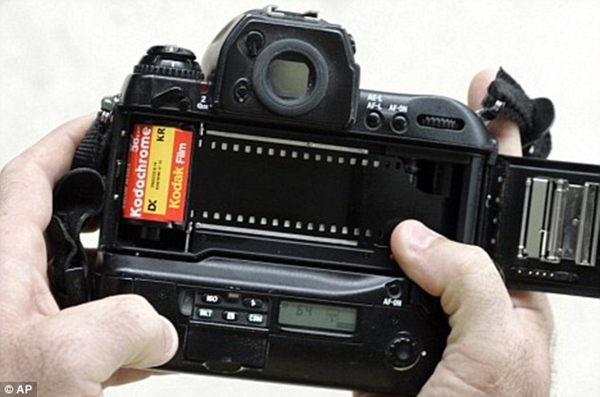
This was before the digital revolution, so digital cameras had not yet happened. Editors needed to rewind and remove the roll of film from the camera. Then they would find the end of the roll inside the container and pull out enough of the roll, using a film leader retriever, to attach to a card or a reel.In a dark room, they would attach the film to a reel, roll the film and place it in a film developing tank that does not let light enter.
Then they would turn on the lights and develop the film using D-76 or Acufine, referring to a photocopied chart.The film needed to be dried either by hanging it or by using a film dryer or a film developing machine.After drying, the film would be placed on a table and cut into strips of six exposures each and then put into film sleeves.
Selecting the Prints
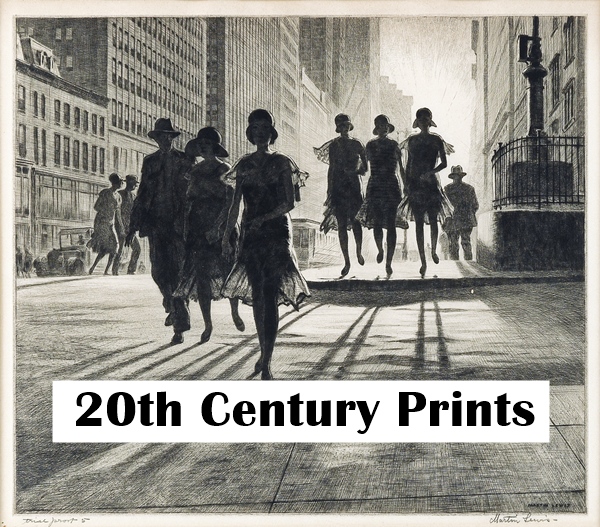
This probably could be the top answers when it comes to how did editors edit photos in 20th century when there was no Photoshop? A contact sheet would be prepared by exposing the film sleeve on a page of photo paper and hand developing it. Or, the negatives would be examined using a magnifying glass. The possible images would be circled with a large red wax editing pencil.
Exposing the Photos
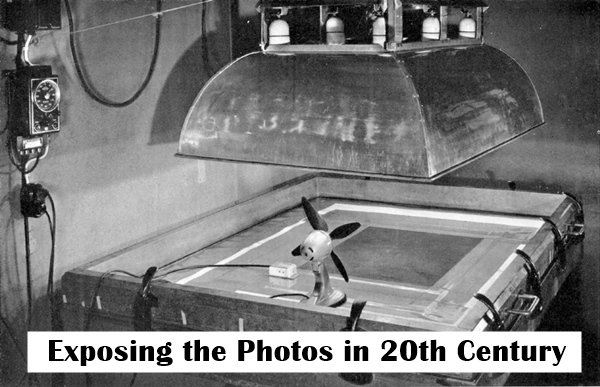
Once the final image for print is selected, the negative strip was put into a negative carrier and then put into an enlarger that was flipped 180 degrees. The image was focused on the easel and a special loupe was used to lock the focus.
A test strip was made using photo paper. This was done by holding a cardboard piece over the strip, exposing only a tiny portion. The darkroom clock was set to 2 or 5 seconds. The switch was turned on and the strip was exposed. Then the cardboard strip was moved a little, uncovering more area of the test strip. The strip was exposed again and this process was continued till about 5-10 exposures were ready.
After taking the strip out, it was processed in a processing machine or bathed in trays filled with developer, stopbather, and fixer. Then, after turning on the lights, the editor would take a look at which of the exposures had the best density. The too dark or too bright ones were discarded, instead the ones that were selected had majority of the image well-exposed and printed with the right contrast.
Editing the Prints
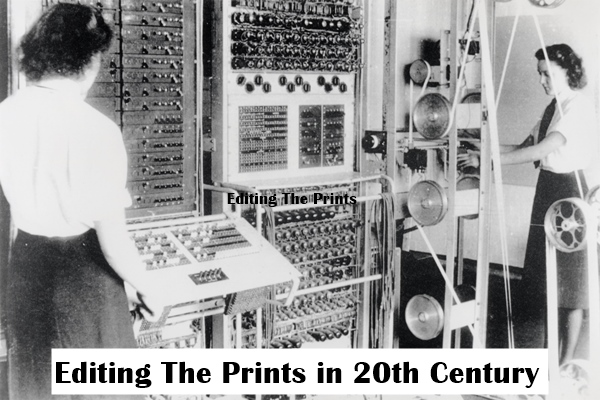
After turning the lights off, the editor would retest to ensure that the image is tack sharp. The enlarger would be turned off, and after placing a full sheet of photo paper on the easel, the clock timer would be set, and the enlarger would be turned on again. The print would be developed and the hot spots and dark spots would be noted.
The bright and light areas could need extra exposure from the enlarger. This was known as “burning in”. The dark and underexposed areas could need less exposure and was known as “dodging”. Manual dodging and burning tools made out of cardboard circles and paper clips were used to adjust the image exposure.
The final touch was to remove any dust spots or scratches with special wipes and alcohol based fluids. The negative would then be replaced in the enlarger, refocused, and reprinted with all the manual edits made.
All this effort went into making one single image! So, now if anybody ever asks you how did editors edit photos in 20th century when there was no Photoshop, you definitely know the answers right?
